S.C.A.B development…
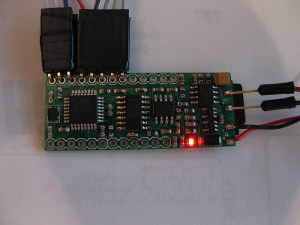
Over the 'years'.. (since I was first turned on to the RFX project/platform).. I fell in love with the idea of a generic platform for the user use as they saw fit.
motors, leds, rfid...whatever the project was.. a nice, simple, generic platform for users to 'tweak' and customize seems like a great idea to me.
with RFX basically defunct/dead... I turned toward the Arduino platform. Had a huge following, lots of examples.. and quite easy to get up to speed on basics..etc.. (even without an electronics background)
The problem with the Arduino platform (as is).. is that its purpose (to me) is for developing/prototyping your projects.. but not to be used in the end application.
why? due to size.. and price mainly for me.. (although other Arduino variants can come in smaller sizes.. the price is includes extra development stuff you may not use in your final projects...etc... and not to mention a minimal Arduino circuit can be made for under $7.00 bucks!)
And getting an Arduino to play audio isnt done easily (by default)..
****(although now I just tested a super easy PWM based audio output library.. doesnt use any DAC or AMP.. and the quality is pretty decent for what it is!)
SO I began to teach myself Eagle.. (not easy for me unfortunately..but after some time I got more comfortable with it)..
and laid out some stuff.. and finally felt confident enough to start making my own PCB's and having the shipped to me.. (instead of the old DIY home brew etch approach)
So here I am documenting my process.. (and failures) along the way.. ![]()
a qcuik summary of the things I had to learn.do/involved..
*need to make a the schematic/circuit layout in Eagle
*hope its correct or have others look it over (check against design rules too)
*order the pcb's (sending the exported GERBER files form Eagle to your pcb fab house of choice)
*order a stencil (which is used to layover the pcb and smear solder paste over it to get it applied to the exposed pads through stencil)
*place parts on pcb (tweezers!!!!)
*re-flow pcb in oven
This was my first iteration.. using a different DAC than the schematic I was using as my guide:
Here was my FIRST generation of pcb's I got made:
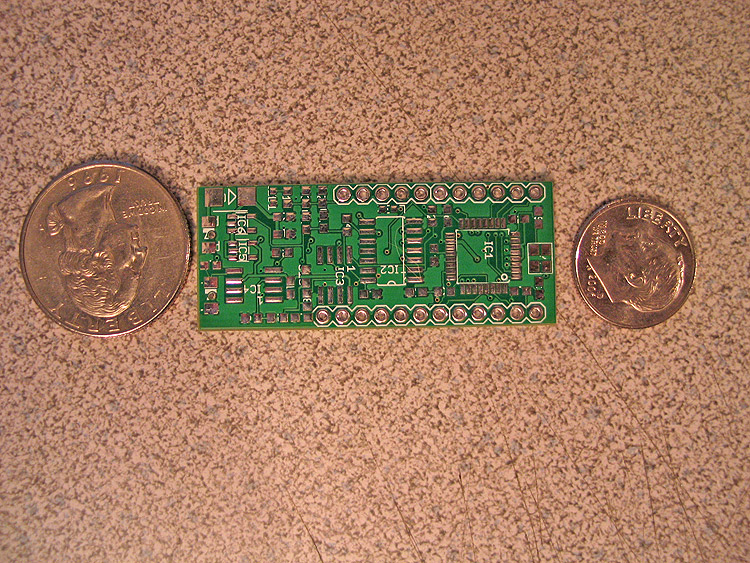
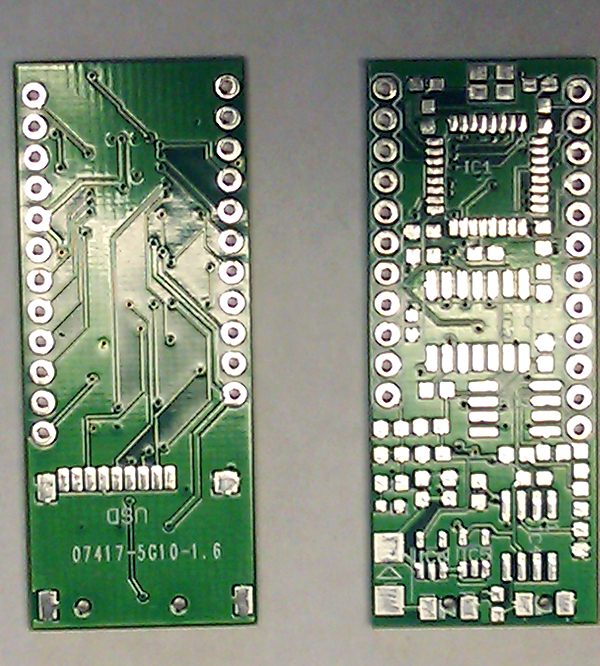
Here is the pcb compared to other stuff.. an Arduino, a smaller minimal Arduino kit..and I think an US 2.5 board:
here I applied my solder paste.. and populated the board with its components..etc. and re-flowed in my wal-mart toaster oven!!
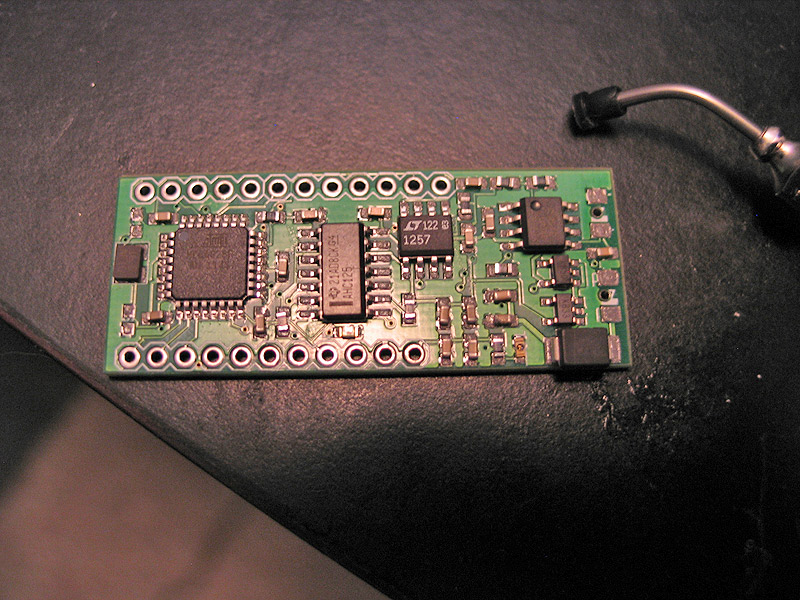
re-flowed:(done)
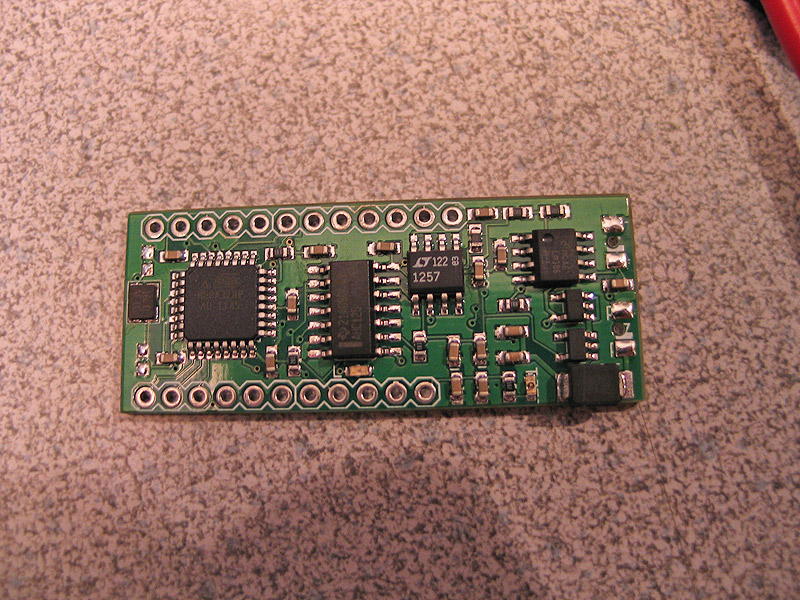
I had even tried to fix it by testing jumper wires to the default I/O pins..etc.. (no go)..
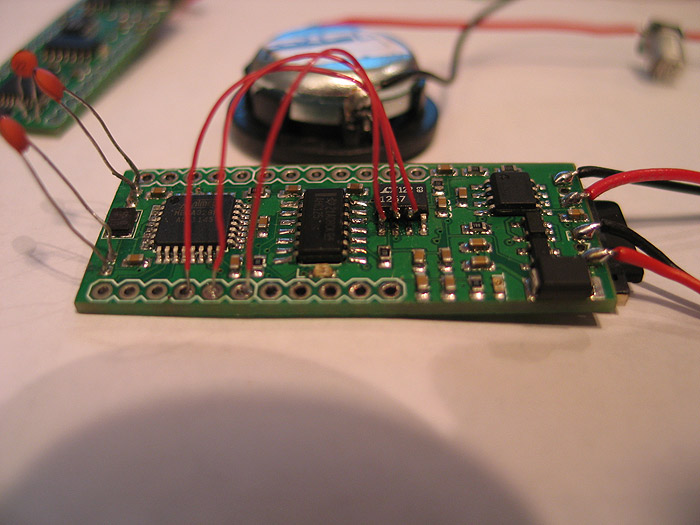
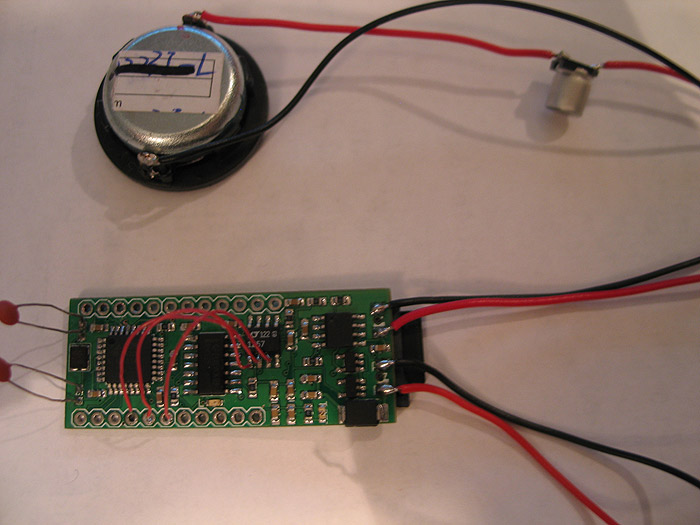
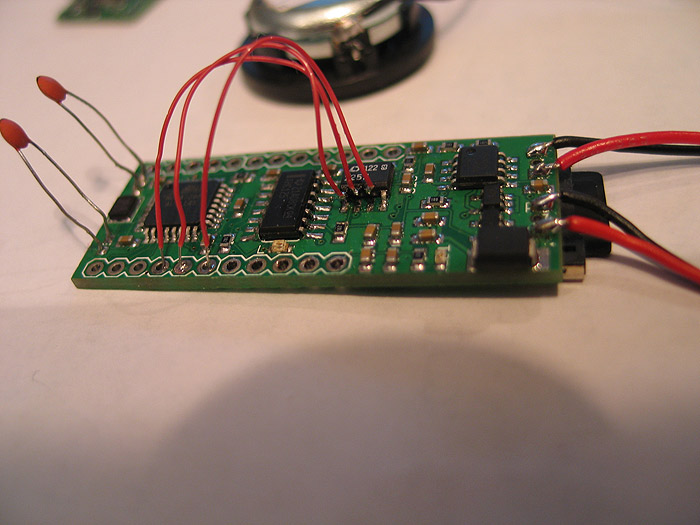
Well long story short.. after posting and asking....I just couldnt get it working with the DAC I had chosen..maybe someone else could have?? no clue.. (DOH.. should have just followed along..lesson learned)..which I guess is good.. as I had a few other mistakes as well.. =( SO I started over.
In the end, all I had was a tiny Arduino circuit..with on-board uSD socket.. nice.. but no audio output. ![]()
So lets go version 2!!
I got mew pcb's made... got a new stencil made..etc.. and started again.
Here is the process "I" did:
apply the solder paste, using stencil:
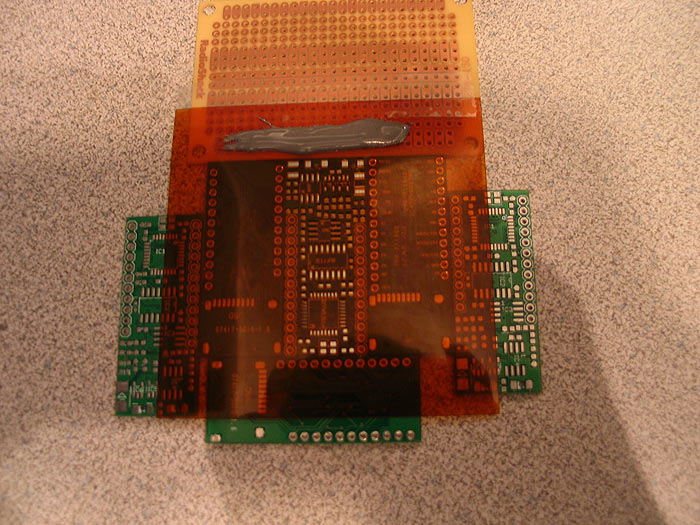
remove stencil.. examine paste placement on pads: doesnt need to be PERFECT as the heat from pads will pull solder towards it..etc:
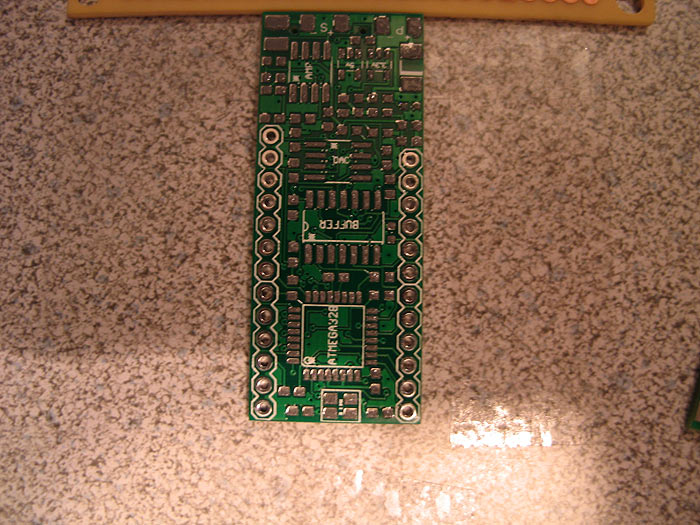
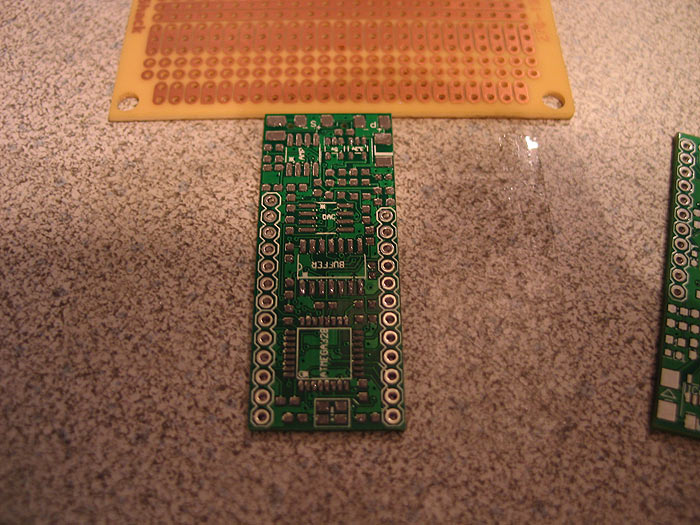
Then populate board: (those TQFP chips are a PITA sometimes!!)
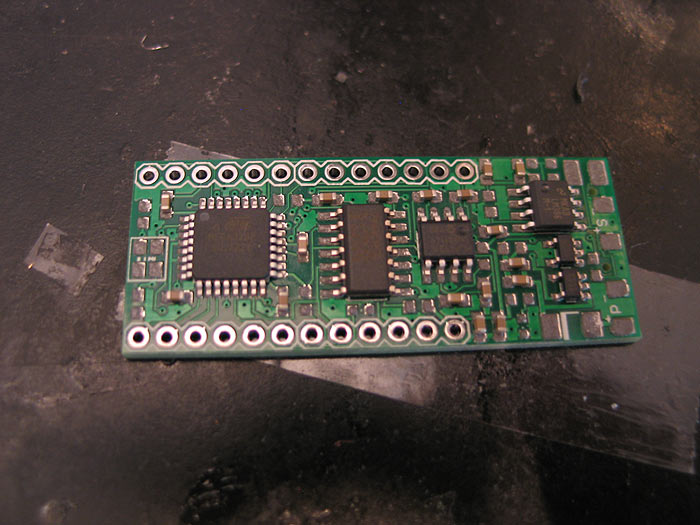
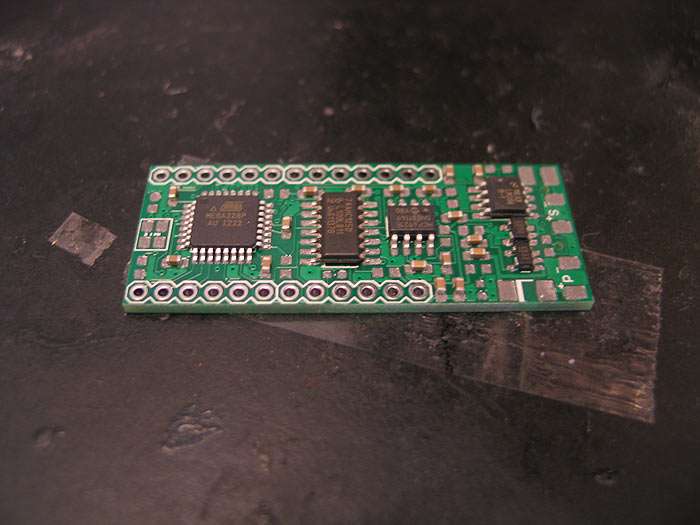
Stick it in the toaster for a bit.. (you can see the solder melt and get shiny)
and when you are done you get a finished board..
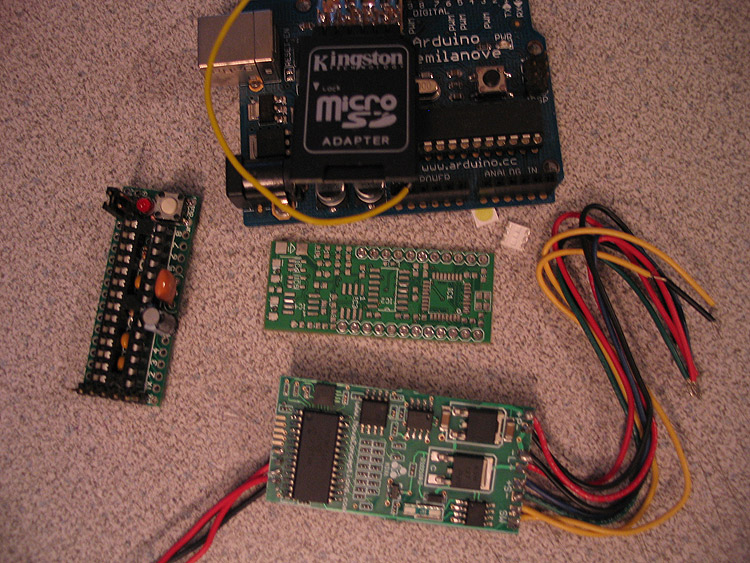
Here are some size shots and comparison shots against a full size Arduino & WaveShield (which is what my custom board is together..those two boards in one)
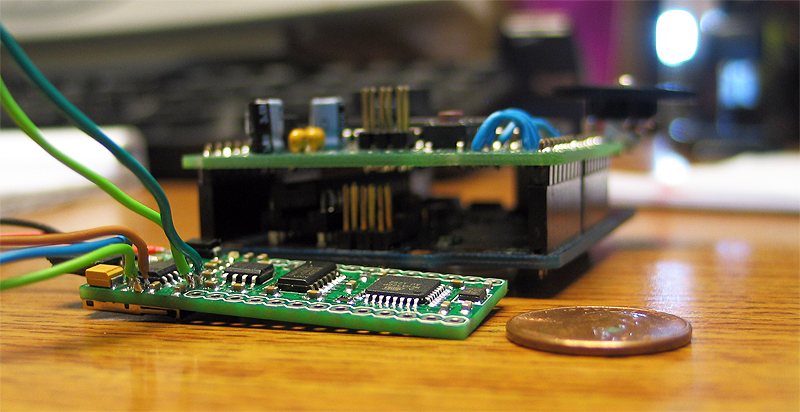
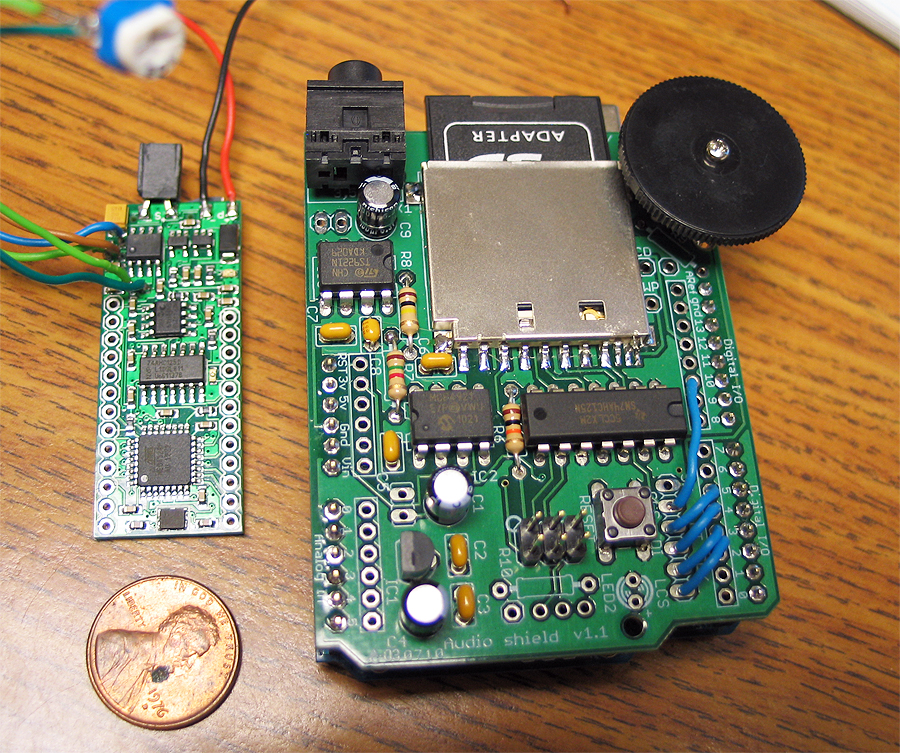
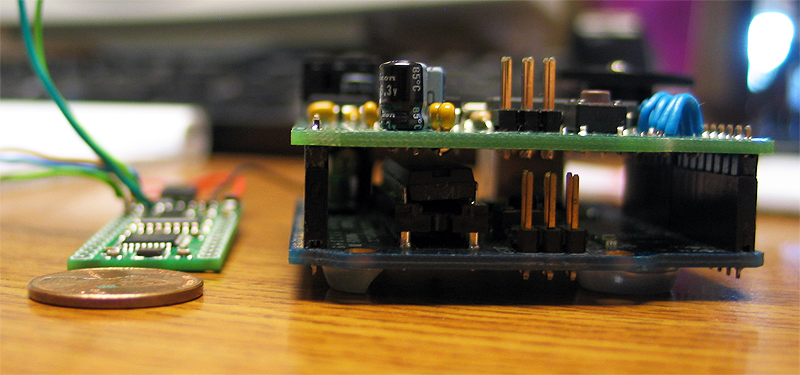
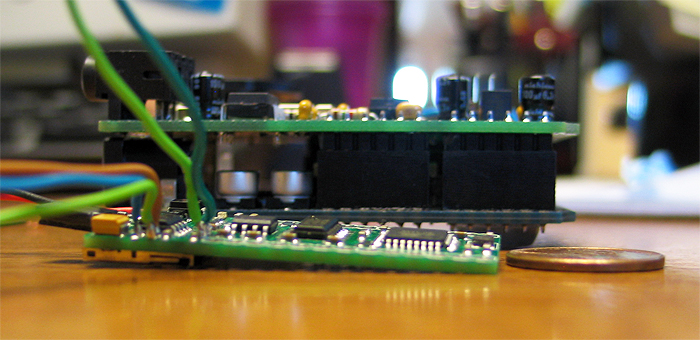
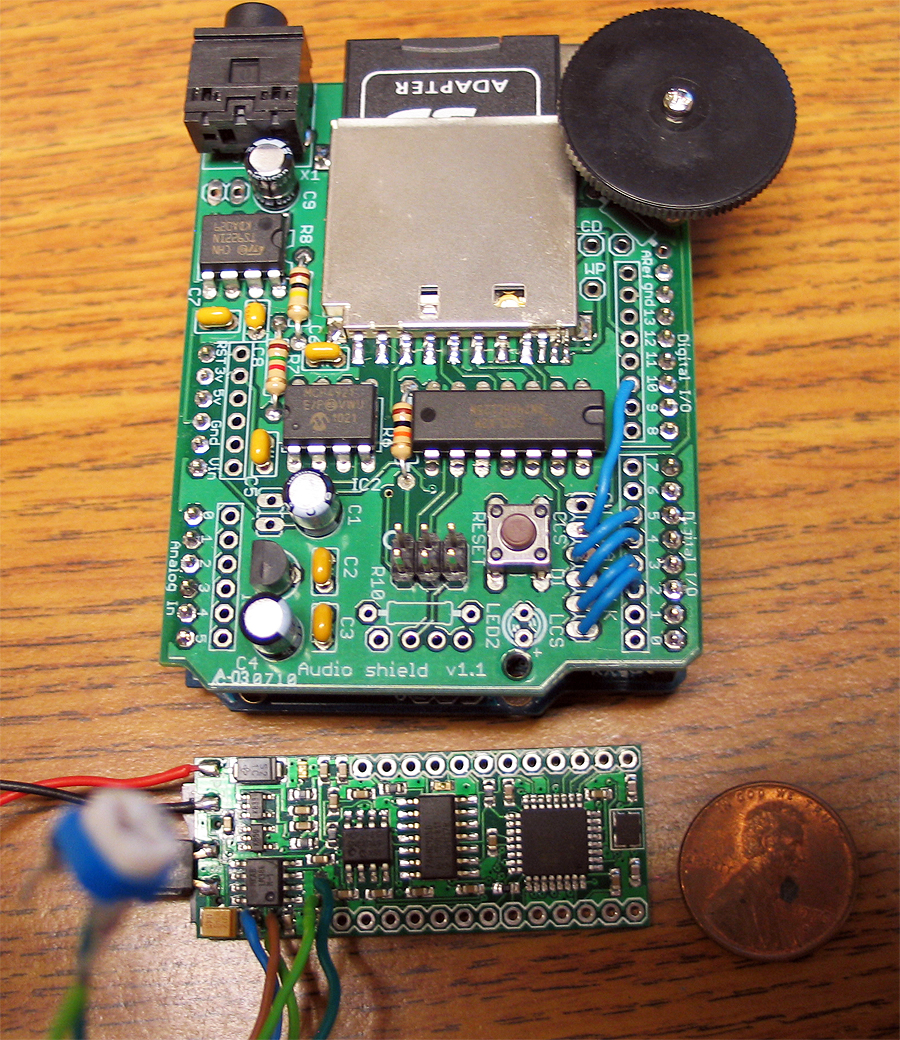
in the last pic you can see some pots wired inplace of some resistors.. I did this so I could dial in not only the volume.. but play with the filter/range, so things didnt sound so muddy/muted..
when done flash the board with whatever code you wrote to control/do whatever it is you need done.
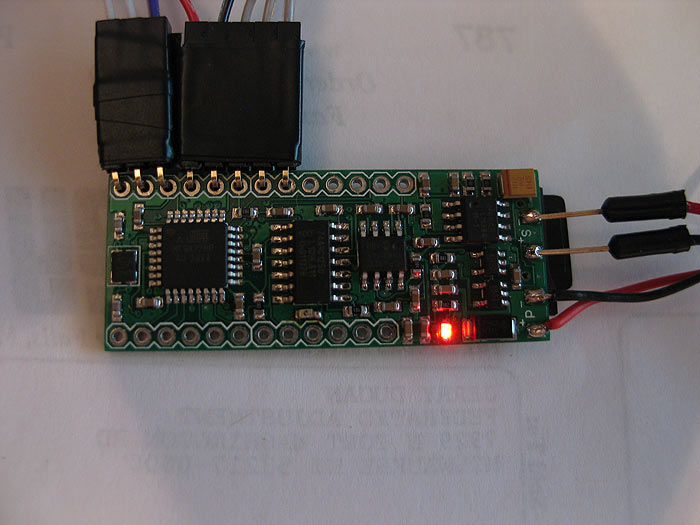
thanks for looking.. was a fun project..