Joe Jedi Control Box Use: 2
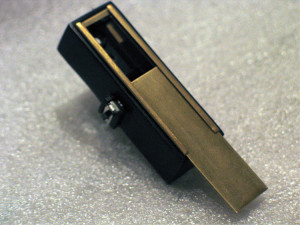
Im always looking to re-use or hack existing parts.. MHS.. heatsinks..whatever..
I had originally played with these control boxes and mounting a PLI in them (dimensions are almost spot on)..
I never have any 'cover' on them..and they looked a bit 'steampunk/unfinished'.. (not the type of fit & finish "I" like)..
may a few.. and was done.. other day.. got back to working on one for a buddies MHS OBI I am making him.. (no clamp.. just this contol box)
I figured Id share for a few reasons..
1.) it actually came out fairly good.. I made a black one and a 'brass' one..
2.) anyone can make these..no special equipment needed
3.) makes use of old or existing 616 parts..
4.) total was really only a few bucks. (@ your local ACE hardware..some brass flat .99 ..and a 'brass channel' $2.49)
this may get a PLI mounted in it as well..
and the cover will get a slit/slot cut out in it for the leds to shine through..
alternatively.. you can put fill in the sides where I am mounting switches/buttons.. and keep the space under the cover blank/empty for switches..
"OR" see the GHETTO PCB 4 U thread..and make/etch your own PCB and fake resistors and diodes..etc.. and mount in it there..like on the OG graflex's
(and I also posted a pic of an OLD AoF pommel I had two of..that I modified.. and added in some 'rubber grip' pieces..
Front.. close cover:
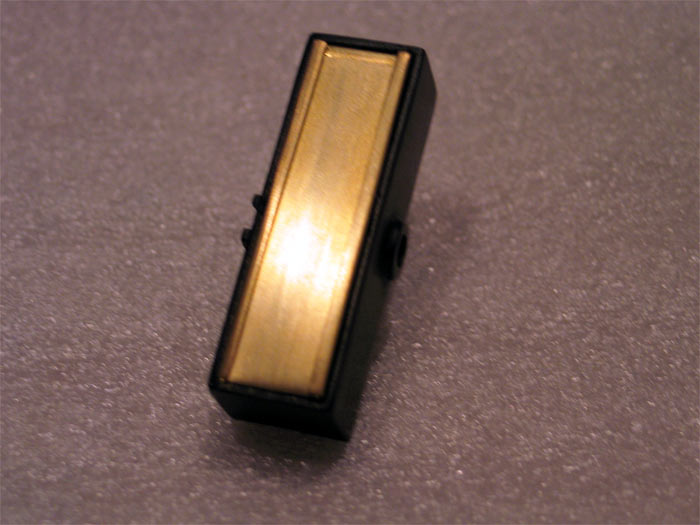
Top cover open: (bottom has holes to run wires) (you can see both slider switch and mom. switch on each side)
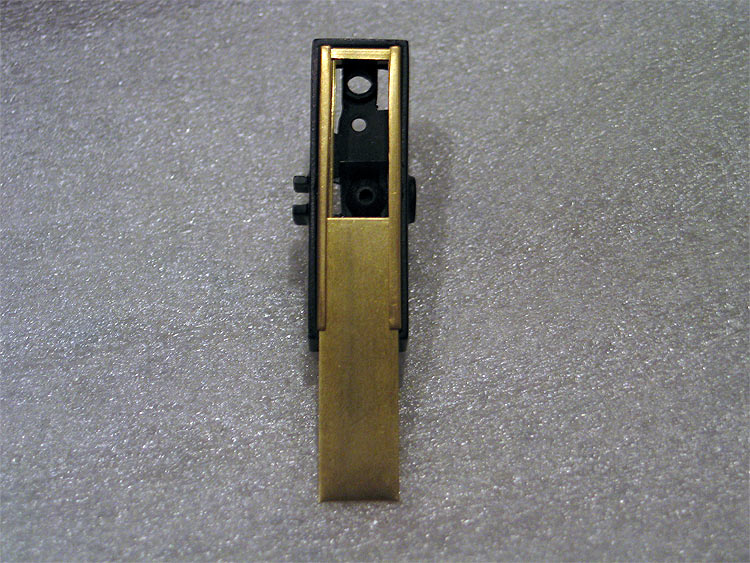
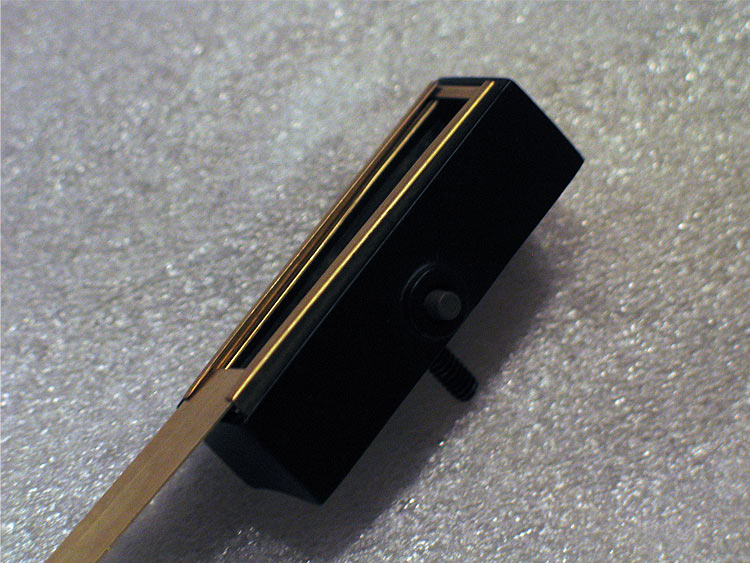
Side:
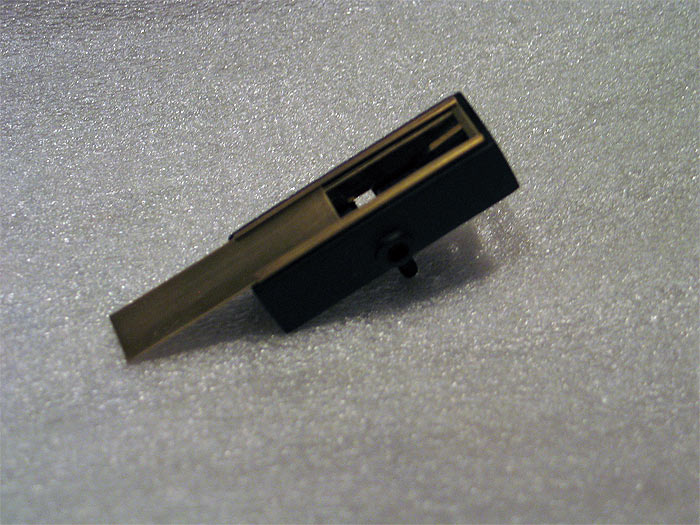
Slider Switch side:
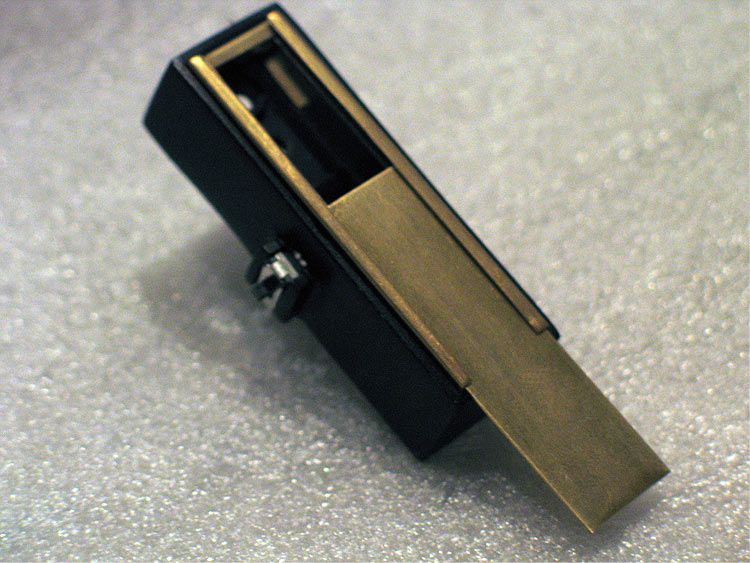
Mom. Switch side:
AoF Pommel mod:
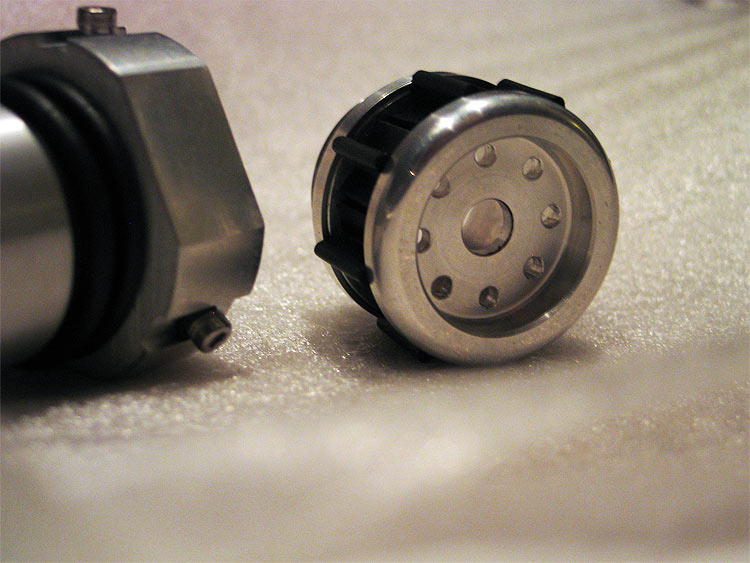
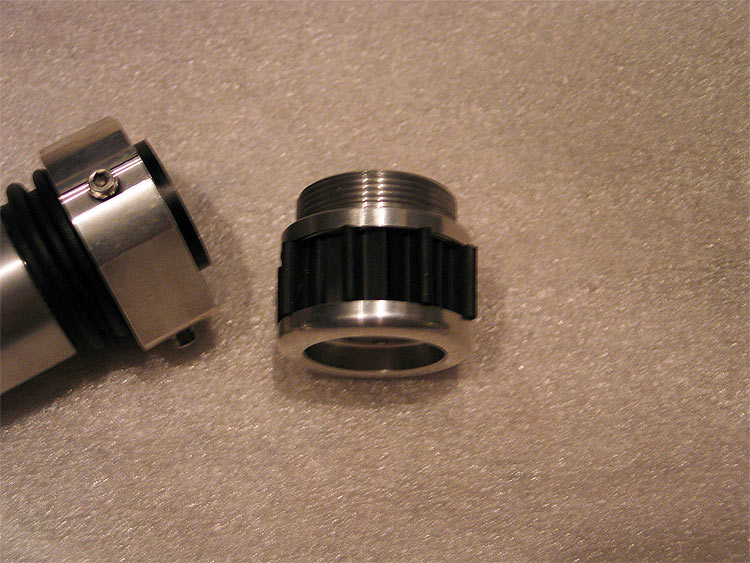
Since I have a few of these.. I have some without the switch stuff cut out..
but I was thinking the slider switch will be for the PLI...
*always on (unless kill key is in of course)
*off
*on when saber on
Be cool to fit in battery in there! pop it out to charge it up..pop back in!..
anways.. this thing is a space saver fits on the outside of a 2" extension piece..
single (middle) point mounting, means no worries about using it at top under a bladeholder/heatsink ![]()
feedback is always appreciated.
Thanks
-----------------------------------------------------------------------------
oops.. the pics..
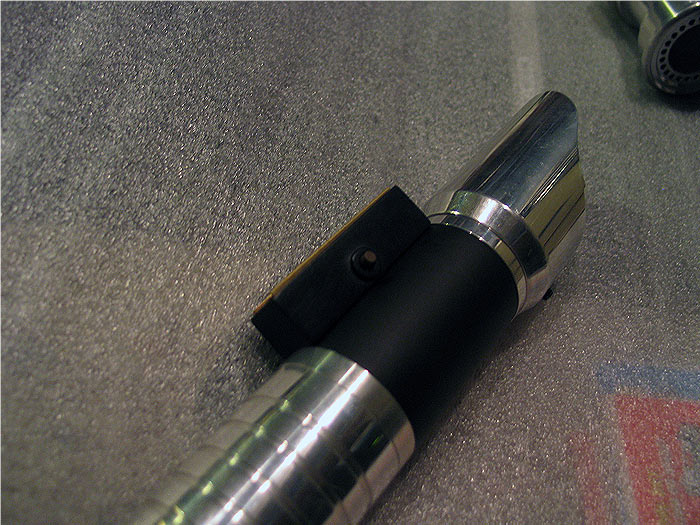
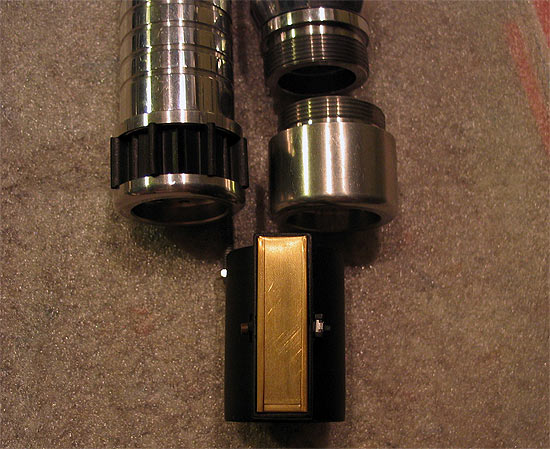

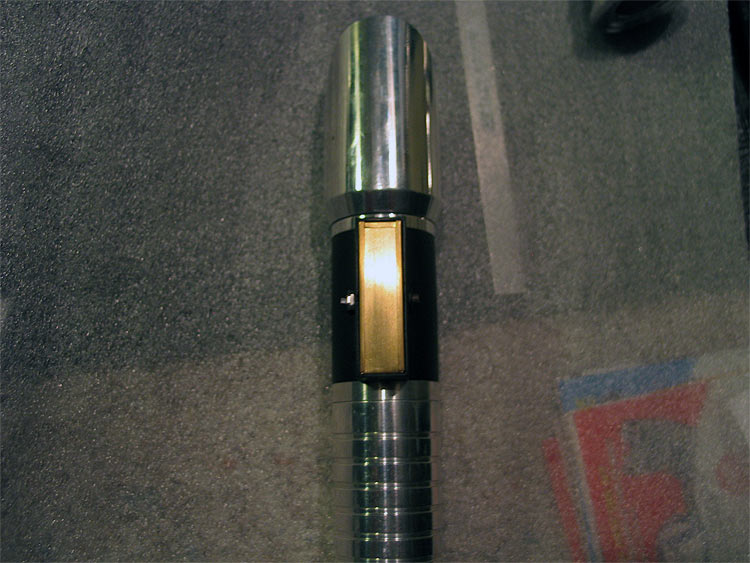

-----------------------------------------------------------------------------------------
also...one more last pic... before final steps are done..
quick mock up of the PLI inserted..
not fully installed..(you can see the wires still)..
but you get an idea of how it'll work & fit.
you can also see the new 'cover' I am making for it.. to let the leds shine through..
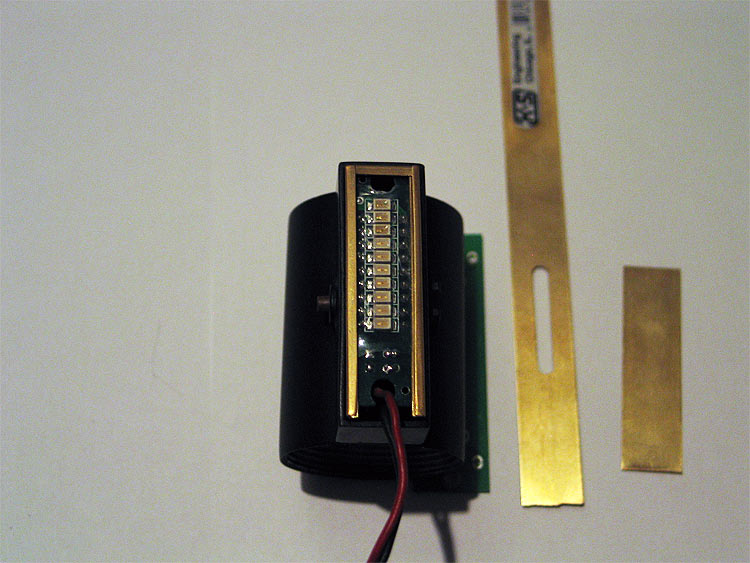
--------------------------------------------------------------------------------------------
I think I might have to re-do the sides (again)..
the problem at hand is how to get the PLI to sit a bit LOWER in the box..
I have a few options..but none will really gain me MUCH more space in lowering it..
alternately..re-doing the sides and making them a bit taller would work.. but will it throw off the visual looks of it with it being taller and not 'as' flush?
anyways.. anyone/everyone can make these..
takes about $4.00..but you should be able to make 2 out o the materials..
At my local Ace Hardware store.. (just like everyone else).. we ave a little Brass/Aluminum/Copper section for hobby metals..robs, tubes...flat/sheet...etc..etc..
one of the pieces they have is RECTANGULAR tubing.. not very wide at all..but a few random sizes..
I grab one of the bigger pieces..and then the FLAT brass strip you see in the pics..
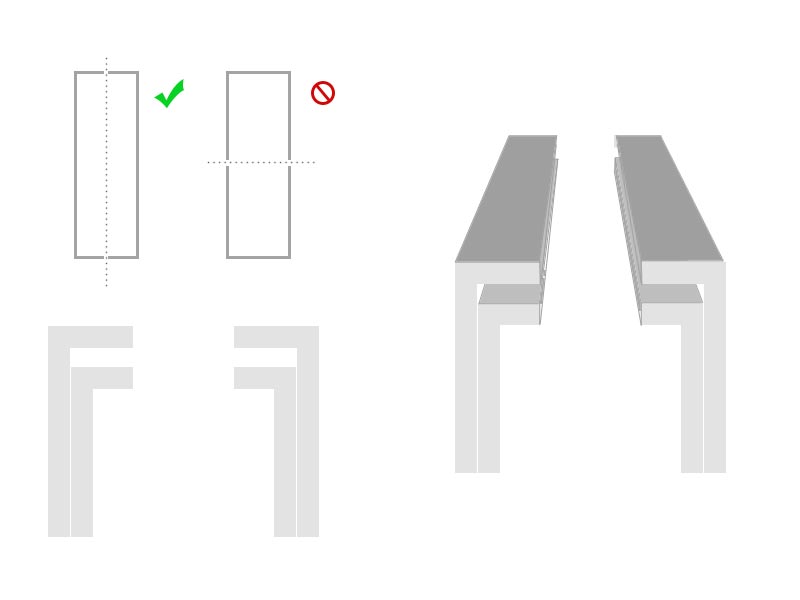
cut it long ways....and down the 'vertical' axis..not the horizontal.. (see pic)
you'll be left with two pieces like this:
_ _
| |
| |
| |
| |
- -
you dont need the bottom 'lip'.. so shave/and it off... so you're left with an upside down "L" shape:
_ _
| |
| |
| |
| |
thats basically it.. LOL
make another set just liek this.. but make them SHORTER (not as tall).. so just sand/shave down MORE wen taking off that bottom lip.
this is the basis of your 'shelf' system.. so you can slide the brass cover into place..
_ _ _ _
| - - -- |
| | | |
| | | |
| | | |
you can then do the same..of course smaller width.. for the 'width' of the box..and to keep the 'sides' secure and not loose.
---------------------------------------------------------------------------------------------
ok.. to finsh it up more or less..
the PLI cover/cutout window..
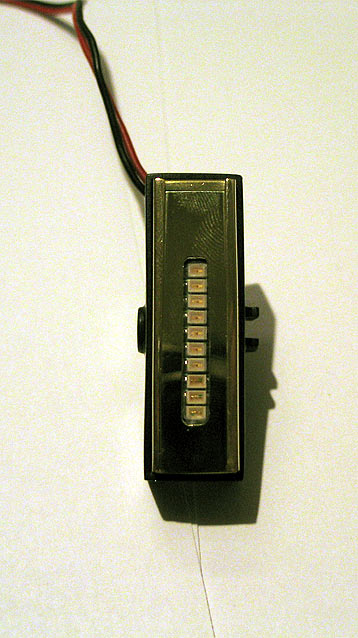
my question to you guys is:
to secure the PLI...
should I:
a.) try and use some screws/bolts to lock the PLI down?
Id of course like to do this UNDER the cover.. but if not..might have to go THROUGH the cover.. ending the removable/sliding aspect of it.
b.) raise the sides a bit to compensate for the 'thickness' of the PLI?..then I can mount the PLIS down.. glue or secure the sides in.. and the cover can be removable?
sorry about the finger prints.. did a quick buff on the pieces to take a pic for YOOUZZ GUYZZ..